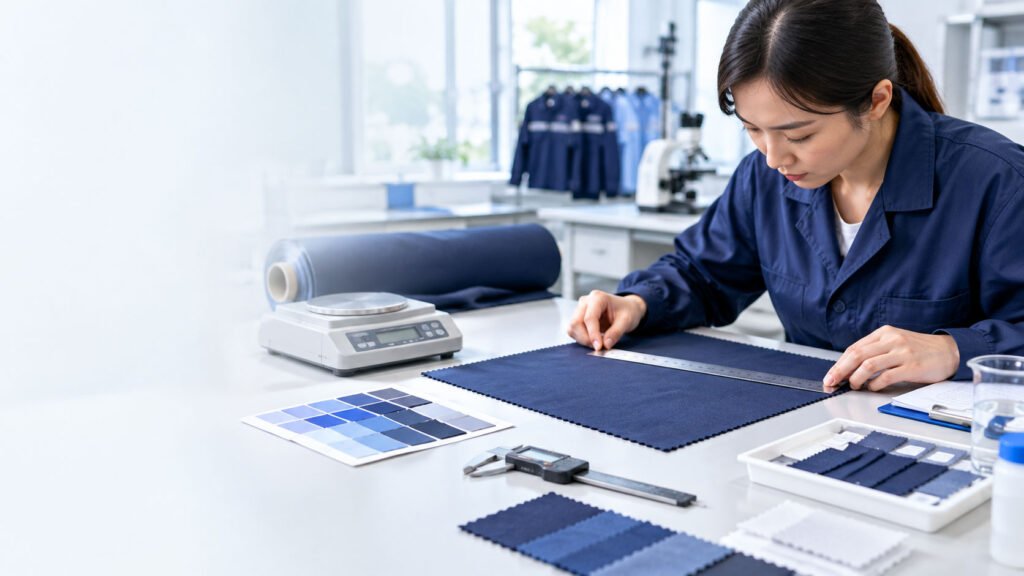
Testing uniform fabric before bulk production means checking three things in sequence: the physical sample (weight, hand feel, color match), the lab-verified performance data (shrinkage, colorfastness, pilling, abrasion resistance), and a real-world wash trial that mimics your actual laundering conditions. The third step is the one most buyers skip — and it's the one that catches the failures a lab certificate won't. Here's how to run each stage properly before committing to a large order.
How to Test Uniform Fabric Before Bulk Production
Why Approving Fabric From a Spec Sheet Is a Costly Mistake
A spec sheet and a lab test report both describe a fabric under controlled conditions. Your uniform program runs under uncontrolled ones — industrial detergent, higher wash temperatures, tumble drying, and dozens of cycles per year. Fabric that passes every test on paper can still fade, shrink, or pill in ways that generate complaints within months.
The purpose of pre-production testing isn't to duplicate the mill's lab work. It's to verify that the fabric performs acceptably in your specific conditions, not just in standardized test conditions.
Stage 1: Physical Sample Evaluation
Before any lab testing, get a physical swatch — never approve from photos or digital color references.
What to check:
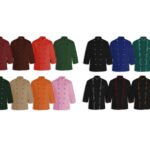
- Color match against a physical color standard under multiple lighting conditions (daylight, warehouse fluorescent, LED). Colors that match under one light source can look noticeably different under another — a phenomenon worth checking deliberately rather than assuming.
- Hand feel — softness, stiffness, surface texture. This is subjective but critical; if wearers find the fabric uncomfortable, no amount of technical performance compensates.
- Weight verification — physically confirm the GSM matches the spec, not just what's written on paper.
- Drape — how the fabric hangs, which affects the finished garment's appearance more than most buyers expect.
- Consistency across the swatch — check for visible variation in color, texture, or density within a single sample piece.
Practical tip: request swatches from multiple production lots if possible, not just a single showcase sample. Lot-to-lot consistency is a common failure point that a single perfect swatch won't reveal.
Stage 2: Laboratory Performance Testing
These are the standardized tests that generate comparable, documented data. Request them from the supplier, or commission them independently through a third-party testing lab if the stakes justify it.
Shrinkage / Dimensional Stability
Measures how much the fabric changes size after washing.
Why it matters: excessive shrinkage means garments that fit at delivery don't fit after the first few washes.
What to specify: a maximum acceptable shrinkage percentage (commonly ≤3%) and — critically — how many wash cycles the test covers. A single-wash shrinkage figure understates real-world dimensional change.
Colorfastness
Measures resistance to color fading or bleeding, usually rated on a scale.
Tests to request: colorfastness to washing, to rubbing (crocking), to light, and to perspiration — each measures a different failure mode.
Why it matters: faded uniforms look unprofessional long before they're functionally worn out, driving early replacement costs.
What to specify: minimum acceptable ratings and the test standard used (AATCC, ISO, etc.), since ratings from different standards aren't directly comparable.
Pilling Resistance
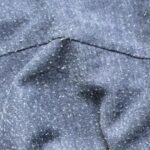
Measures the fabric's tendency to form small fiber balls on the surface from friction.
Why it matters: pilling is one of the most visible signs of uniform wear and a common source of end-user complaints, especially on poly-cotton blends.
What to specify: minimum acceptable pilling grade after a defined number of cycles.
Abrasion Resistance
Measures how well the fabric withstands surface wear from rubbing.
Why it matters: directly predicts how quickly high-contact areas (elbows, seat, knees) wear through.
When it matters most: industrial workwear, construction uniforms, and any application with significant physical contact — less critical for office or hospitality uniforms.
Tensile and Tear Strength
Measures the force required to break or tear the fabric.
Why it matters: predicts resistance to catastrophic failure under stress.
What to specify: test standard and direction of measurement (warp vs. weft), since strength often differs significantly by direction.
Functional Finish Verification
If the fabric includes a water-repellent, flame-retardant, antistatic, or antimicrobial finish, test its performance after repeated washing, not just when new.
Why it matters: topical finishes degrade with laundering. A finish that performs perfectly on a fresh sample may be substantially diminished after 25–50 wash cycles.
Stage 3: The Real-World Wash Trial (The Step Most Buyers Skip)
This is where pre-production testing earns its value. Lab tests use standardized conditions; your laundering process probably doesn't match them.
How to run it:
- Request enough fabric to produce 2–3 complete sample garments, not just swatches — seams, stress points, and full-garment dimensional change behave differently than flat fabric.
- Wash them using your actual laundering process — the same detergent, temperature, cycle, and drying method your program will use.
- Run at least 20–25 cycles if the timeline allows; more if the uniforms will be washed daily.
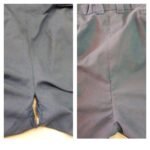
- After each batch of cycles, check for: shrinkage (measure against original dimensions), color fade, pilling, seam integrity, stretch recovery, and overall appearance.
Why this catches what labs don't: industrial laundering often uses harsher detergents and higher temperatures than standard test protocols. Fabric that passes a lab shrinkage test at 40°C can behave very differently at industrial wash temperatures — and that difference only shows up in a real-world trial.
Stage 4: Wear Trial (For Large or Long-Term Programs)
For programs involving hundreds or thousands of units, a small wear trial is worth the extra timeline.
- Issue sample garments to 5–10 actual employees in the target roles
- Run the trial for 4–8 weeks minimum
- Collect structured feedback on comfort, heat, mobility, and appearance after repeated wear
- Inspect garments at trial end for wear patterns, pilling, and fit changes
This catches issues no lab test can surface — like a fabric that technically performs well but traps heat uncomfortably during an eight-hour shift, or a stretch fabric that loses recovery in a way that changes fit over time.
Testing Checklist Before Approving Bulk Production
| Stage | What to Confirm |
|---|---|
| Physical sample | Color match under multiple lights, hand feel, GSM verified, drape |
| Lab testing | Shrinkage, colorfastness (wash/rub/light), pilling, abrasion, tear strength |
| Finish verification | Functional finish performance after repeated washing |
| Wash trial | Full garments, your actual laundering process, 20+ cycles |
| Wear trial | Real employees, 4–8 weeks, structured feedback |
| Documentation | Approved physical color standard, signed spec with tolerances, retained reference sample |
One Final Step: Keep an Approved Reference Sample
Once fabric is approved, retain a sealed, labeled reference swatch as the standard for future production runs. For repeat orders, this is the only reliable way to verify that a new lot matches what was originally approved — memory and spec sheets alone aren't sufficient when subtle color or hand feel drift occurs between production runs.
Conclusion
Testing uniform fabric before bulk production is a three-layer process: verify the physical sample, confirm performance through standardized lab testing, and — most importantly — validate it against your actual real-world laundering and wear conditions. The buyers who avoid costly bulk production failures are the ones who treat lab certificates as necessary but not sufficient, and invest the extra two to four weeks in a real wash trial before signing off on thousands of units.